Unity toy projects
Helping my kids learn C# while having fun.
Overview
In this page I will share some of the toy projects I’m creating for our kids to learn C# programming. It’s not meant to be a complete tutorial - just an outline. I assume you already know some Unity programming and can figure out missing steps through a little googling.
Background
Our kids Emily and Charles are 10 and 8 years old. To first get them excited about programming, I started programming simple Unity games in front of them around 4 years ago. They soon asked to learn to do the same. We tried to do some live training sessions and with lots of assistance from me, they were able to complete some of the projects and enjoy the process. But they were copying code without really understanding any of it. I tried teaching them programming basics but the learning curve was too step and they didn’t have the patience or motivation.
A week ago I tried again and this time it’s working. Here’s what worked for us:
Recommended pre-requisites:
- Learn and practice with Scratch first. I’m grateful that our elementary school offers Scratch classes. This motivated both kids to learn more quickly so they can help and show off to their friends. I bought two copies of “Help your kids with computer coding”. They read the first half about scratch and did some of the exercises. They also spent plenty of time “chatting” with their friends and “mixing” (i.e. copying and modifying) other people’s cool projects.
- Google Grasshopper - awesome for kids. It runs on the their cheap Amazon tablets. (It may require installing the Google store first). They did 2 lessons per day + quizzes - around 5-10 minutes per lesson. They often requested my help and I almost always limited my “help” to asking them to re-read the instructions out-loud slowly… then they understood on their own.
- Start with the first 3 tutorial videos from https://unity3d.com/learn/tutorials/s/scripting. They cover the basics but get boring fast.
Tips:
- Charles concentrates more after he’s done plenty of exercise in the morning. Schedule programming exercises after school (after homework) or on the week-end, e.g. after lunch.
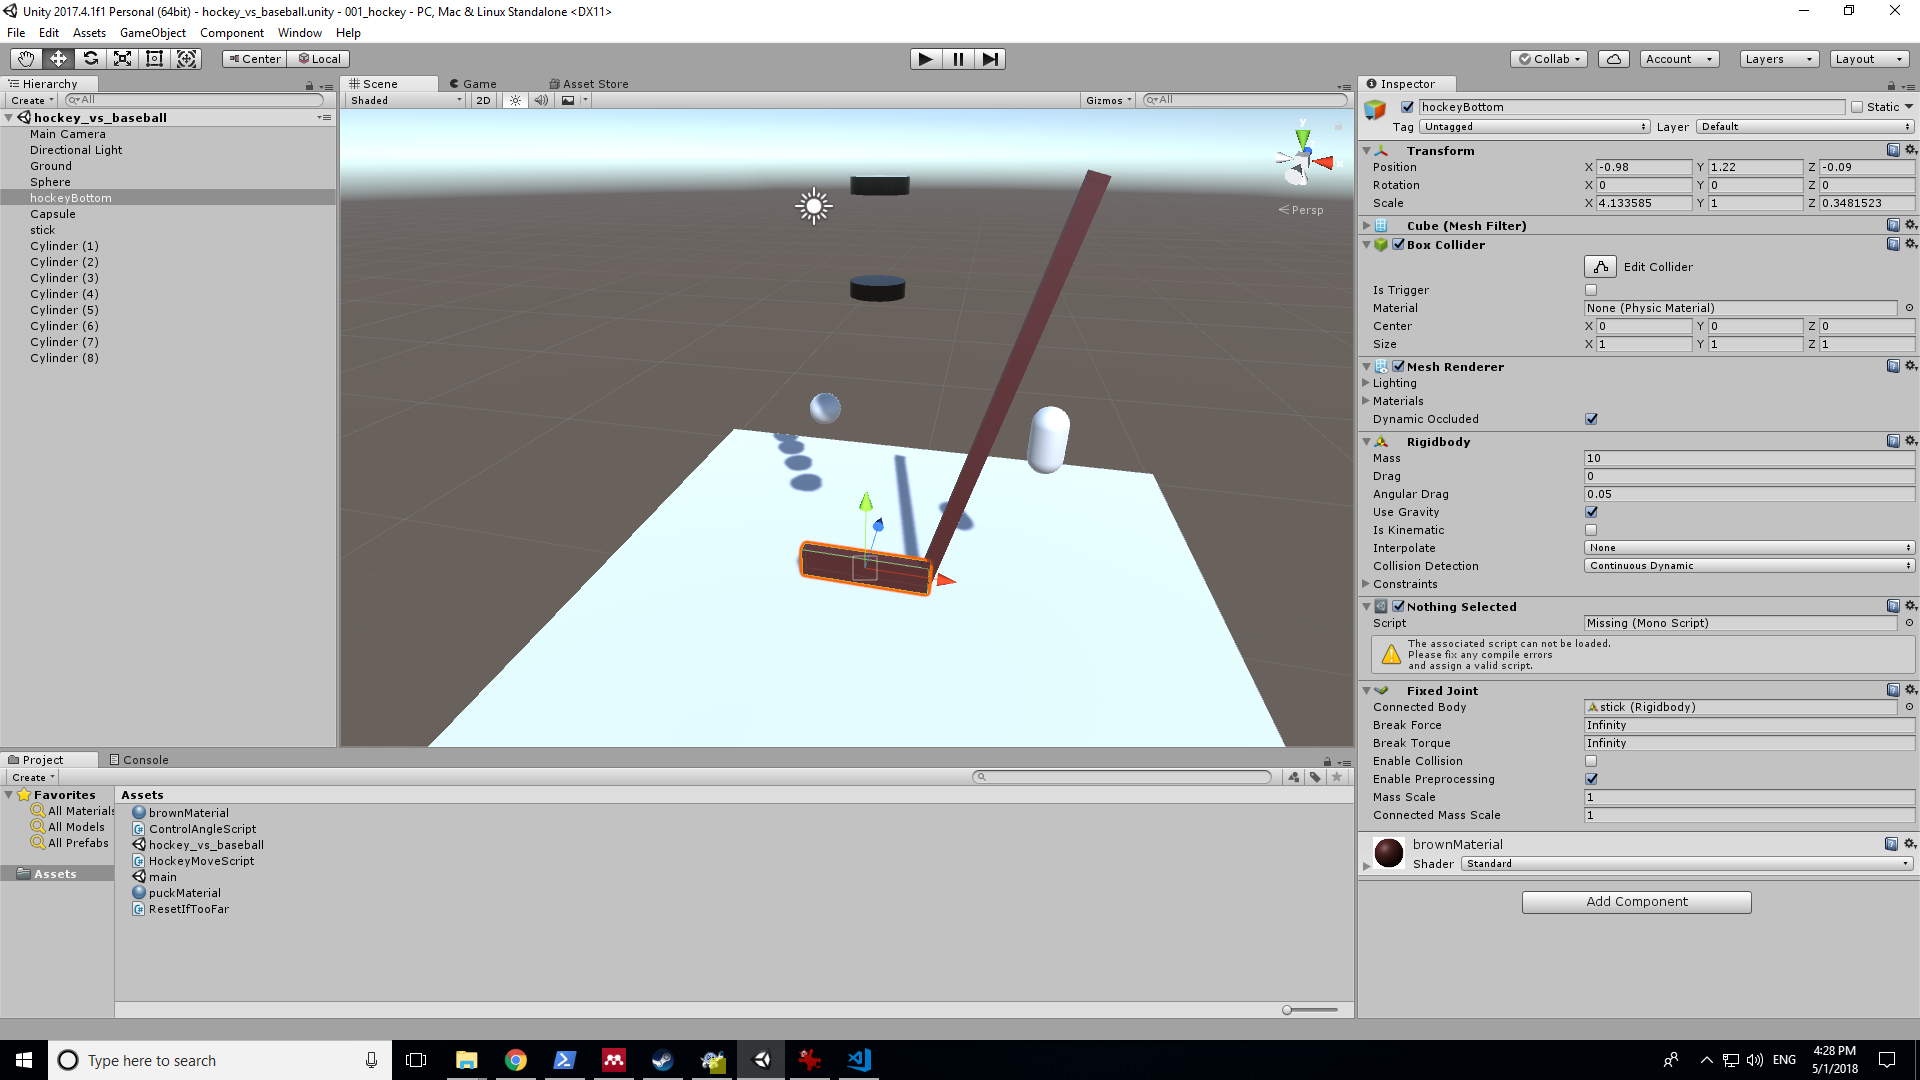
1st project: hockey
I made this first project to teach: - variables - basics of rigid bodies

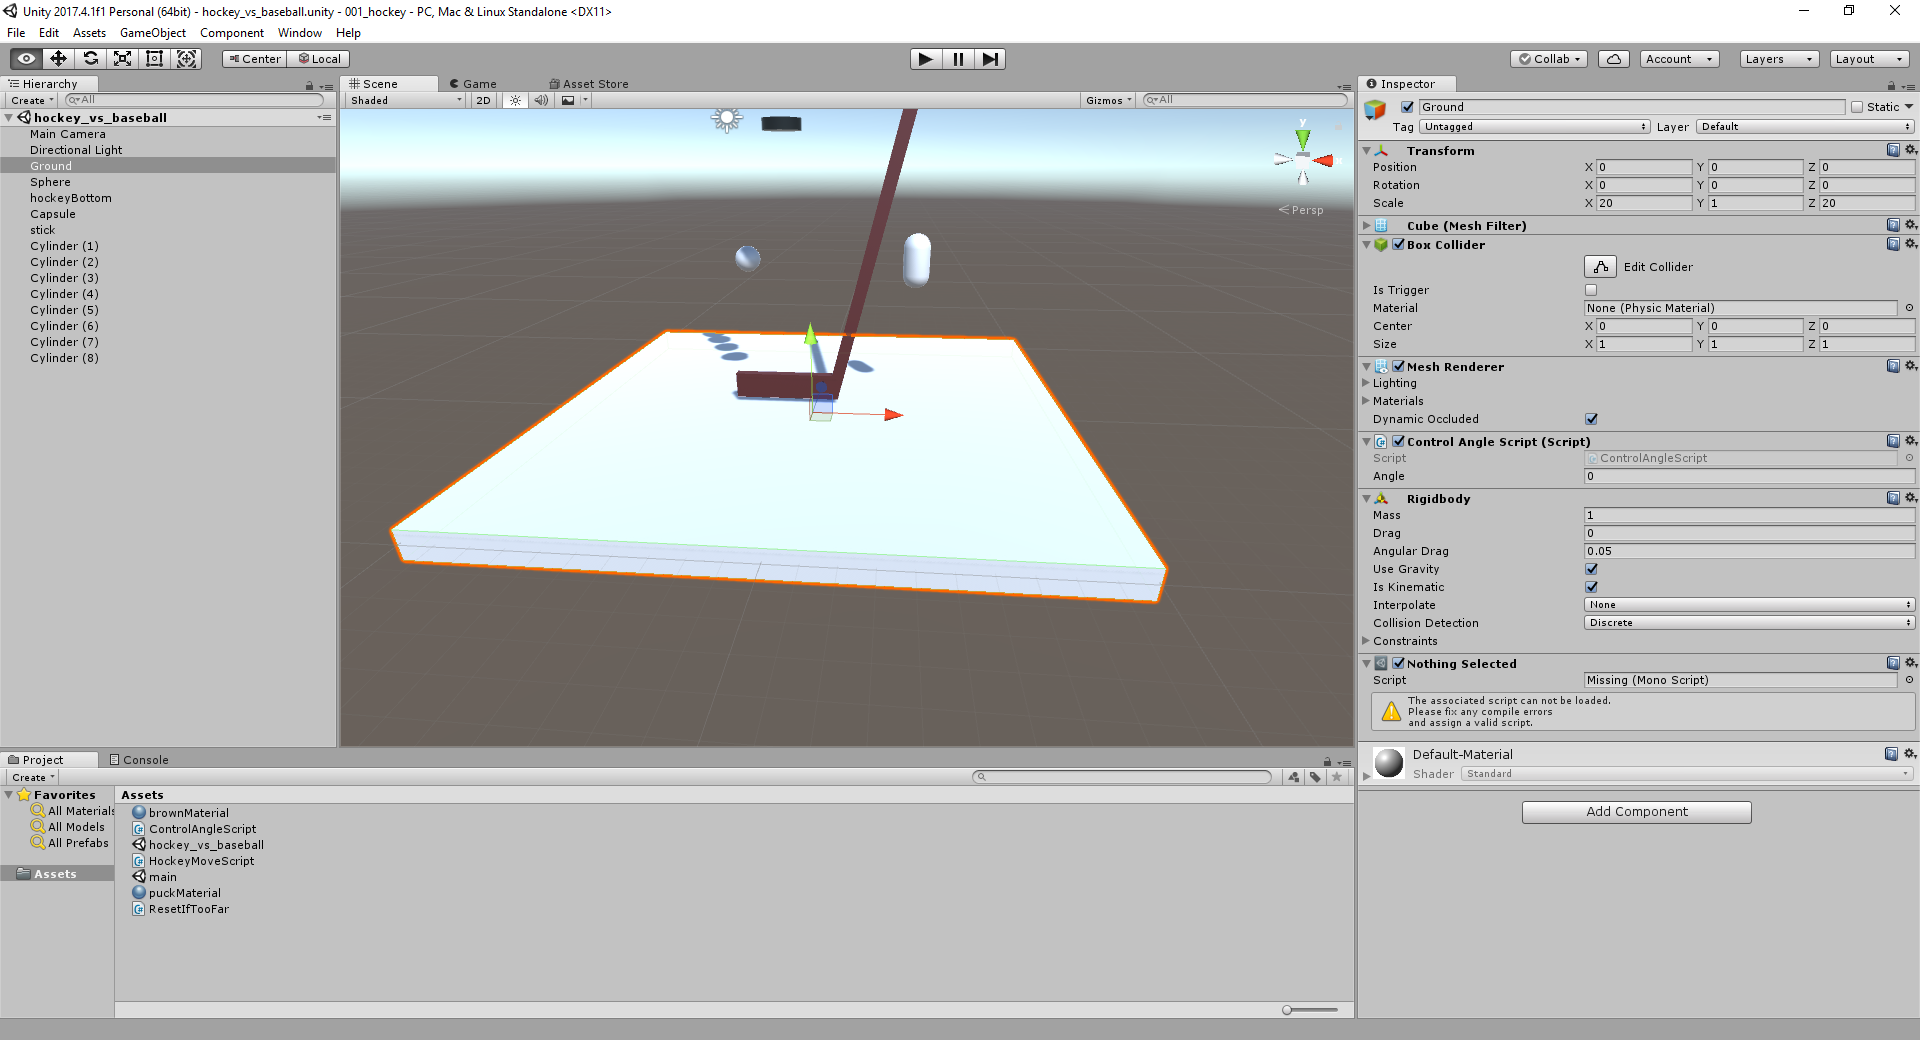
ControlAngleScript.cs
using System.Collections;
using System.Collections.Generic;
using UnityEngine;

public class ControlAngleScript : MonoBehaviour {

	public int angle = 0;

	// Use this for initialization
	void Start () {

	}

	// Update is called once per frame
	void Update () {
		if (Input.GetKeyDown (KeyCode.A))
		{
			angle = angle + 5;
			Debug.Log (angle);
			transform.eulerAngles = new Vector3 (0, 0, angle);
		}
		if (Input.GetKeyDown (KeyCode.D))
		{
			angle = angle - 5;
			Debug.Log (angle);
			transform.eulerAngles = new Vector3 (0, 0, angle);
		}
	}
}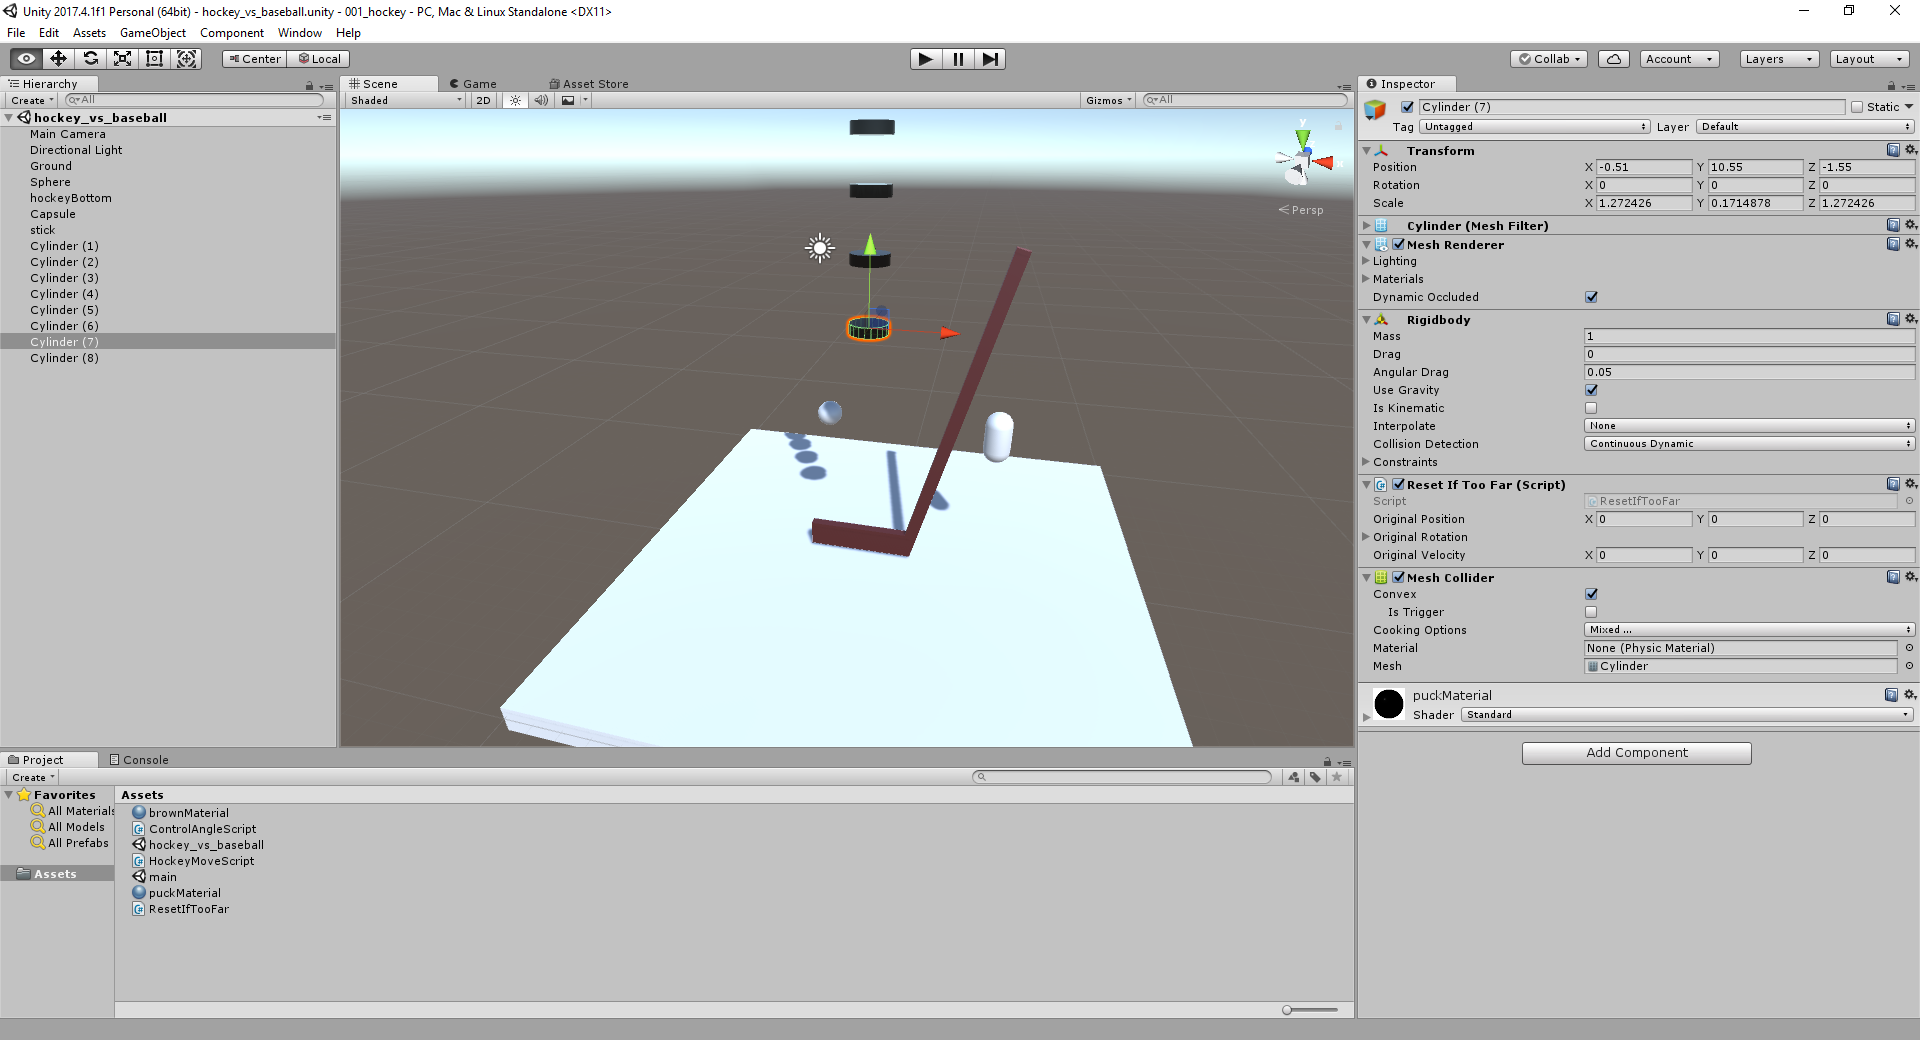
ResetIfTooFar.cs
using System.Collections;
using System.Collections.Generic;
using UnityEngine;

public class ResetIfTooFar : MonoBehaviour {

	public Vector3 originalPosition;
	public Quaternion originalRotation;
	public Vector3 originalVelocity;

	// Use this for initialization
	void Start () {
		originalPosition = gameObject.transform.position;
		originalRotation = gameObject.transform.rotation;
		originalVelocity = gameObject.GetComponent<Rigidbody> ().velocity;
	}

	// Update is called once per frame
	void Update () {
		if (Vector3.Distance (gameObject.transform.position, originalPosition) > 50) {
			// Reset properties
			gameObject.transform.position = originalPosition;
			gameObject.transform.rotation = originalRotation;
			gameObject.GetComponent<Rigidbody> ().velocity = originalVelocity;
		}
	}
}
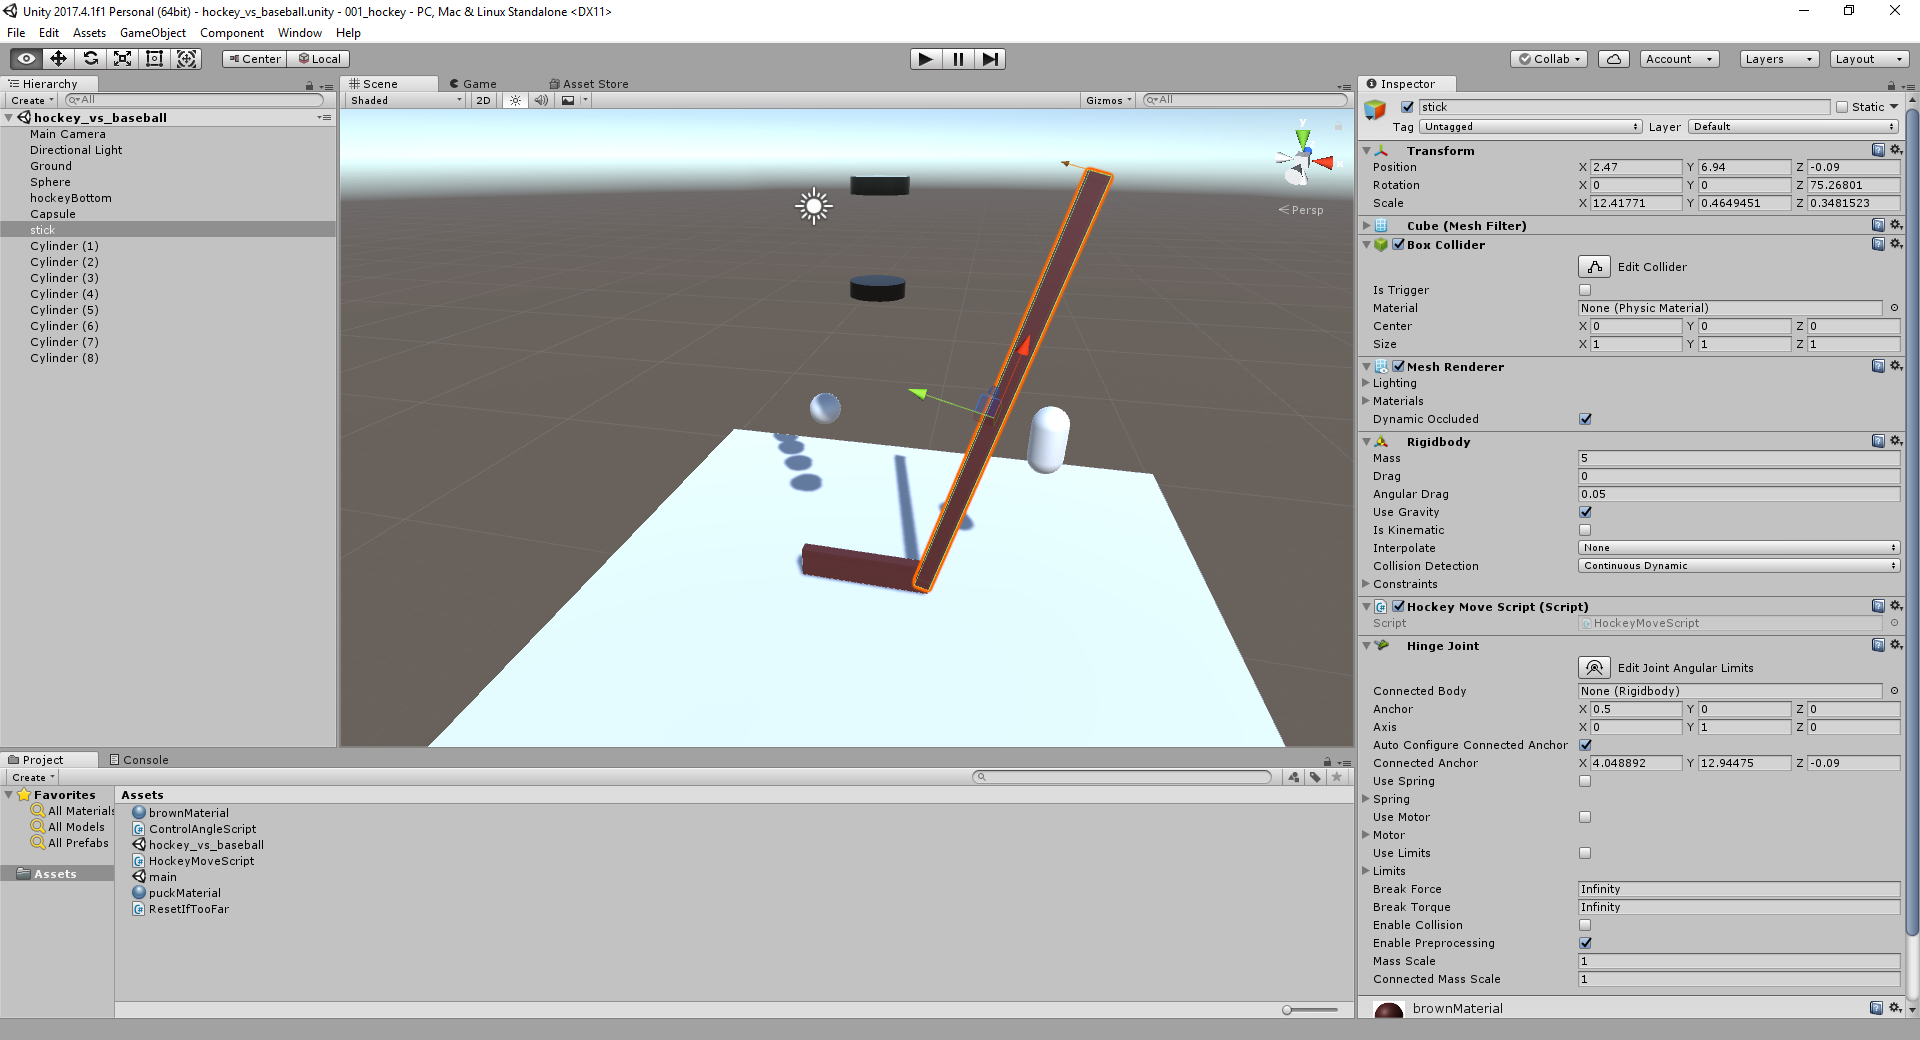
HockeyMoveScript.cs
using System.Collections;
using System.Collections.Generic;
using UnityEngine;

public class HockeyMoveScript : MonoBehaviour {

	// Use this for initialization
	void Start () {
		Debug.Log ("Initialize HockeyMoveScript");
	}

	// Update is called once per frame
	void Update () {
		float turn = Input.GetAxis ("Vertical");
		gameObject.GetComponent<Rigidbody>().AddRelativeForce(new Vector3(0, 0, 250) * turn);
	}
}
2nd project: drone fly over terrain
Create a test scene
Outline: First, we create a simple test scene in which to build and test our drone. Once it’s completed, save it (and the corresponding DroneCamera) in prefabs. Create another scene, paint a nice terrain, and we’ll instantiate the drone there to fly over it over a nice terrain.

Create the floor
This is simply a cube stretched wider.
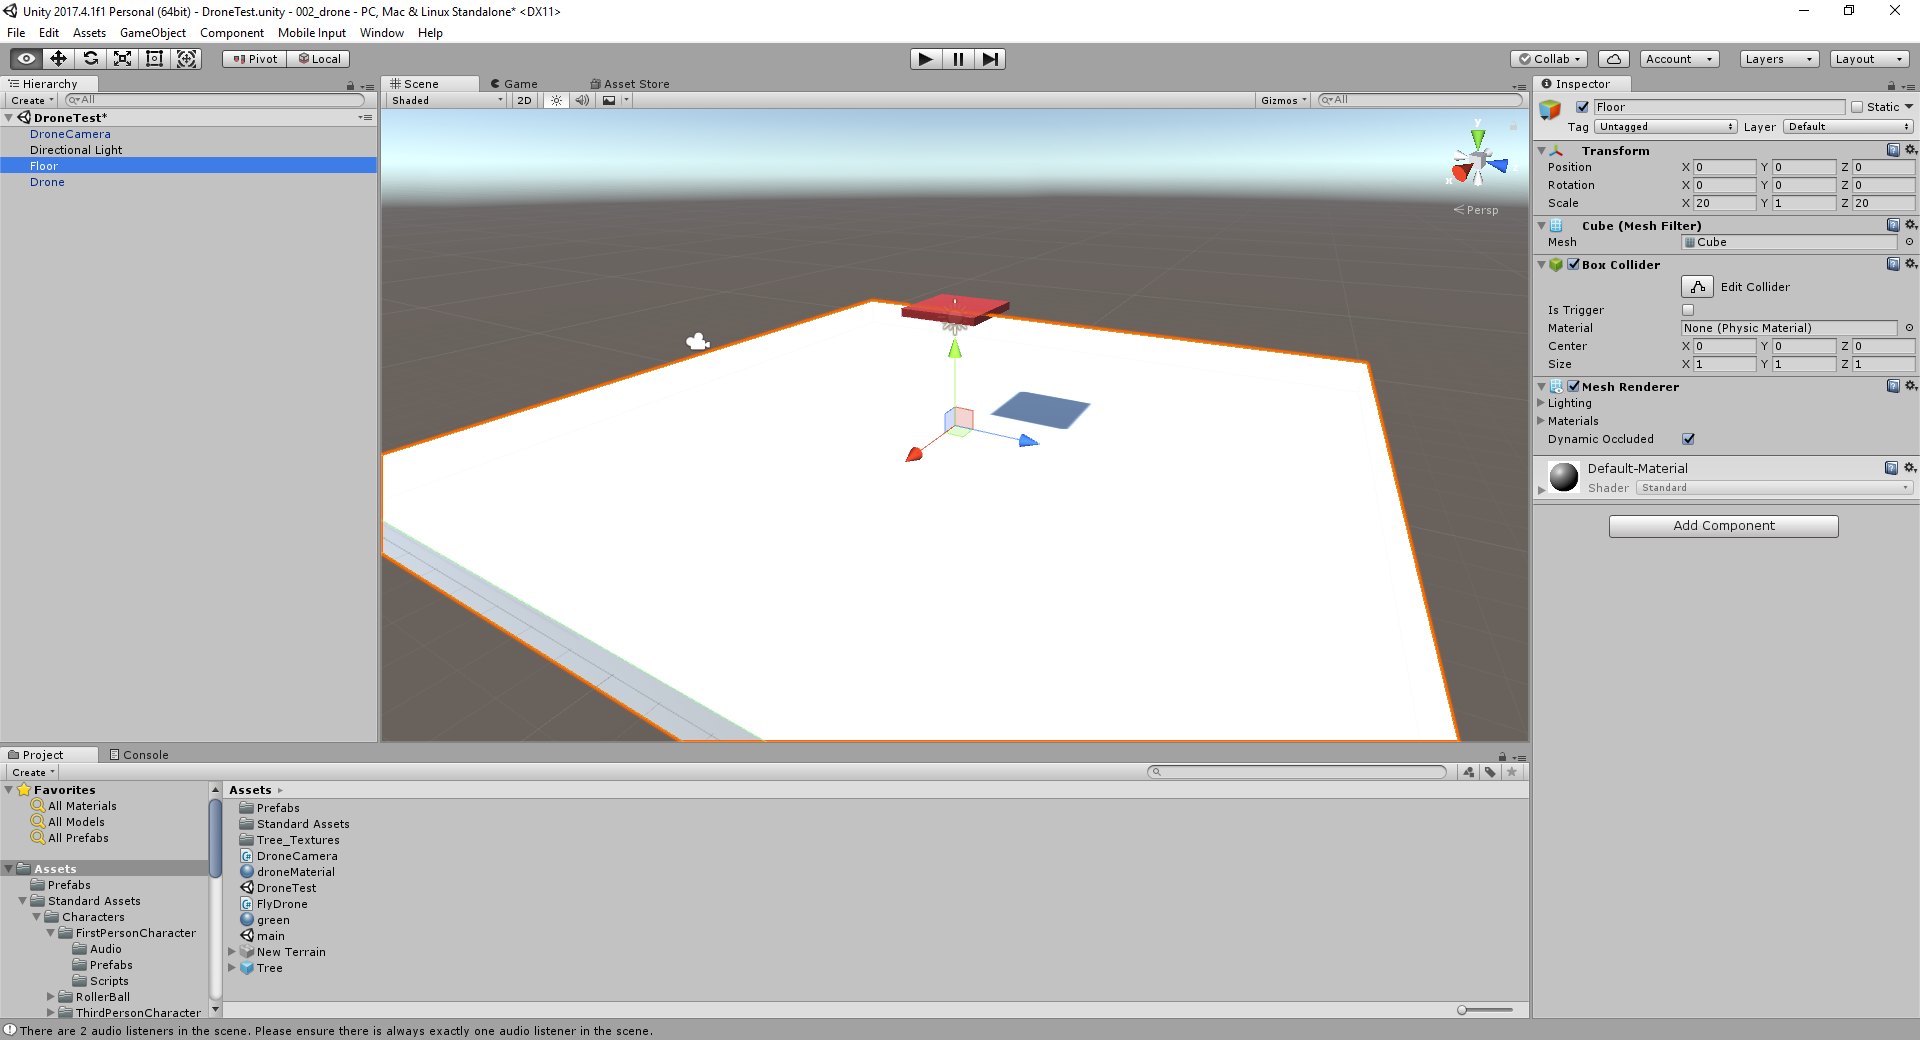
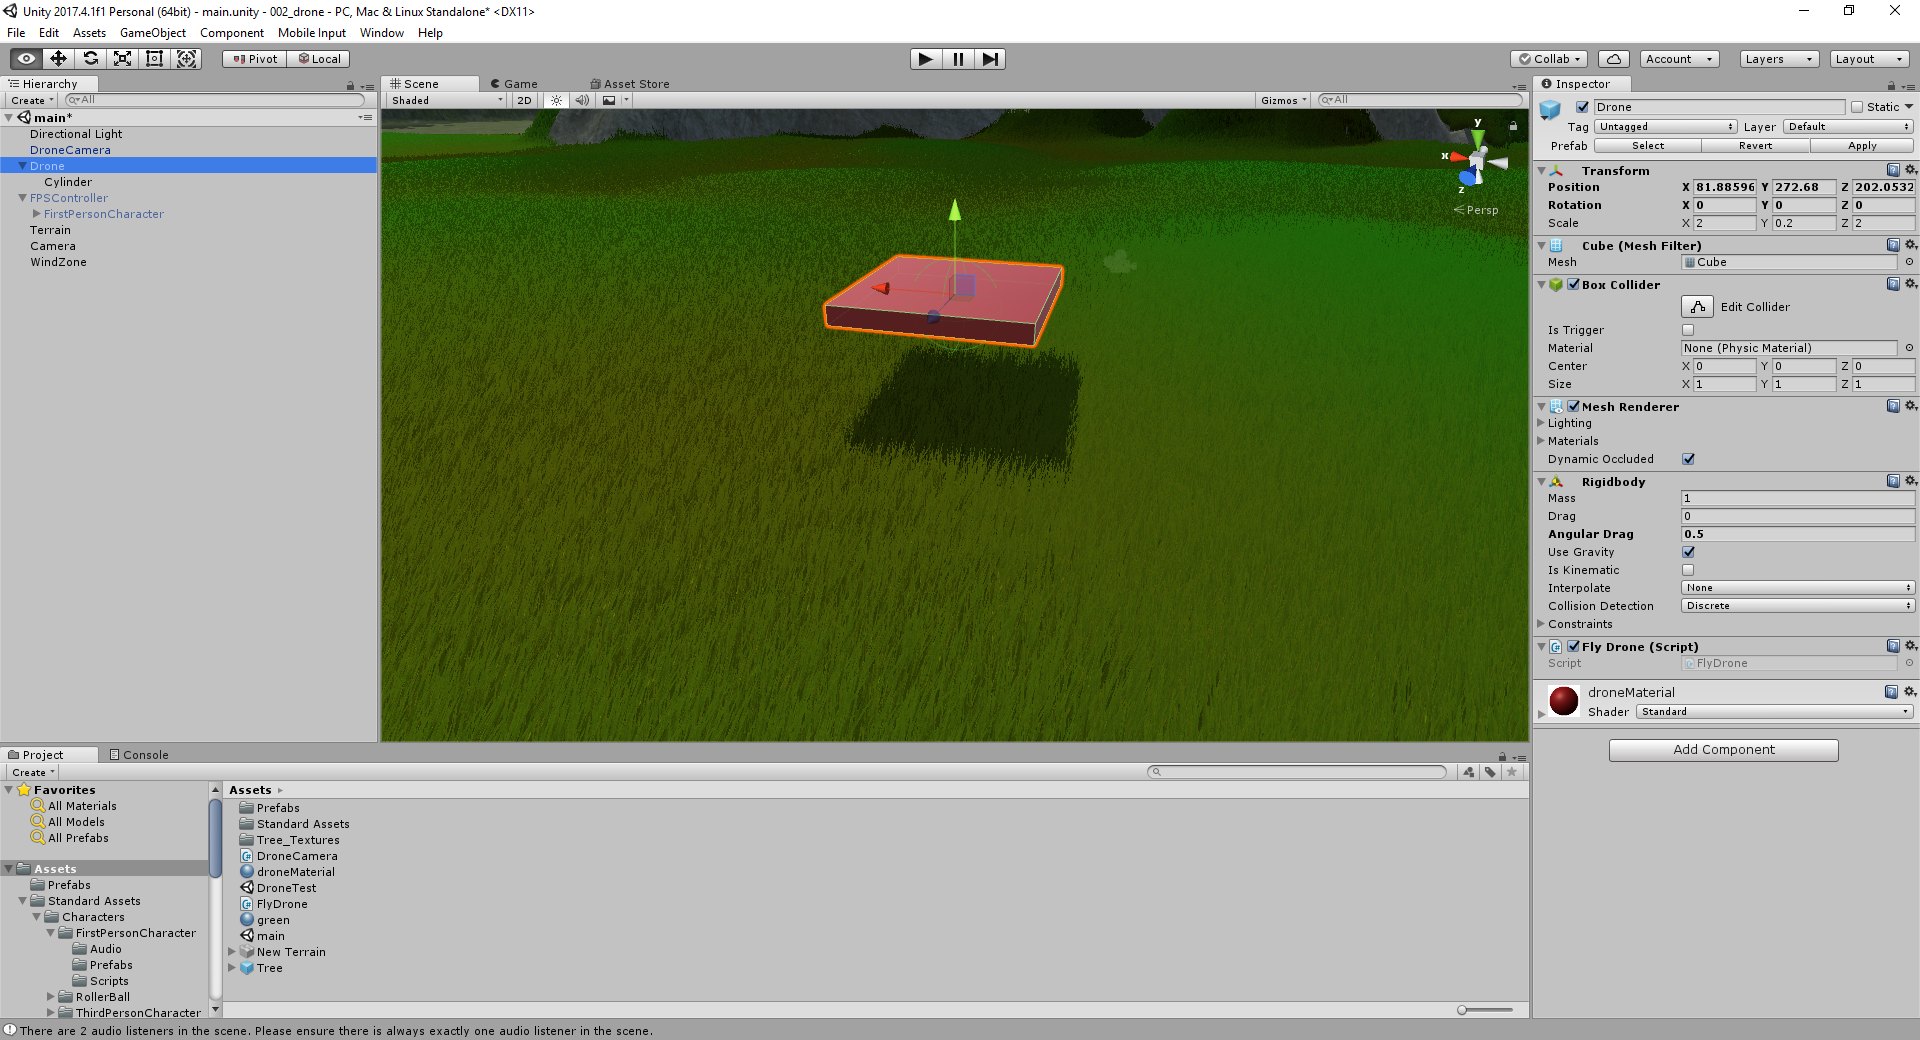
Create the drone
The drone is a flattened cube stretched on the X and Z axis. Make sure to use the right size, otherwise its mass likely won’t be the same as mine, and the forces we’ll apply on it will either be too big (so it will fly too fast) or too little (it won’t get off the ground). Add a Rigidbody component. Add a script called FlyDrone.

FlyDrone.cs
using System.Collections;
using System.Collections.Generic;
using UnityEngine;

public class FlyDrone : MonoBehaviour {

	// Use this for initialization
	void Start () {
	}

	// Update is called once per frame
	void Update () {
		Matrix4x4 l2wMatrix = gameObject.transform.localToWorldMatrix;

		if (Input.GetButton("Fire1"))
		{
			gameObject.GetComponent<Rigidbody>().AddForceAtPosition(
				l2wMatrix.MultiplyVector(new Vector3(0.0f, 250.0f, 0.0f)),
				l2wMatrix.MultiplyPoint(new Vector3(0.0f, 0.0f, 0.0f)));
		}

		gameObject.GetComponent<Rigidbody>().AddTorque(
			l2wMatrix.MultiplyVector(new Vector3(5.0f*Input.GetAxis ("Horizontal"),
				0.0f, 5.0f*Input.GetAxis("Vertical"))));
	}
}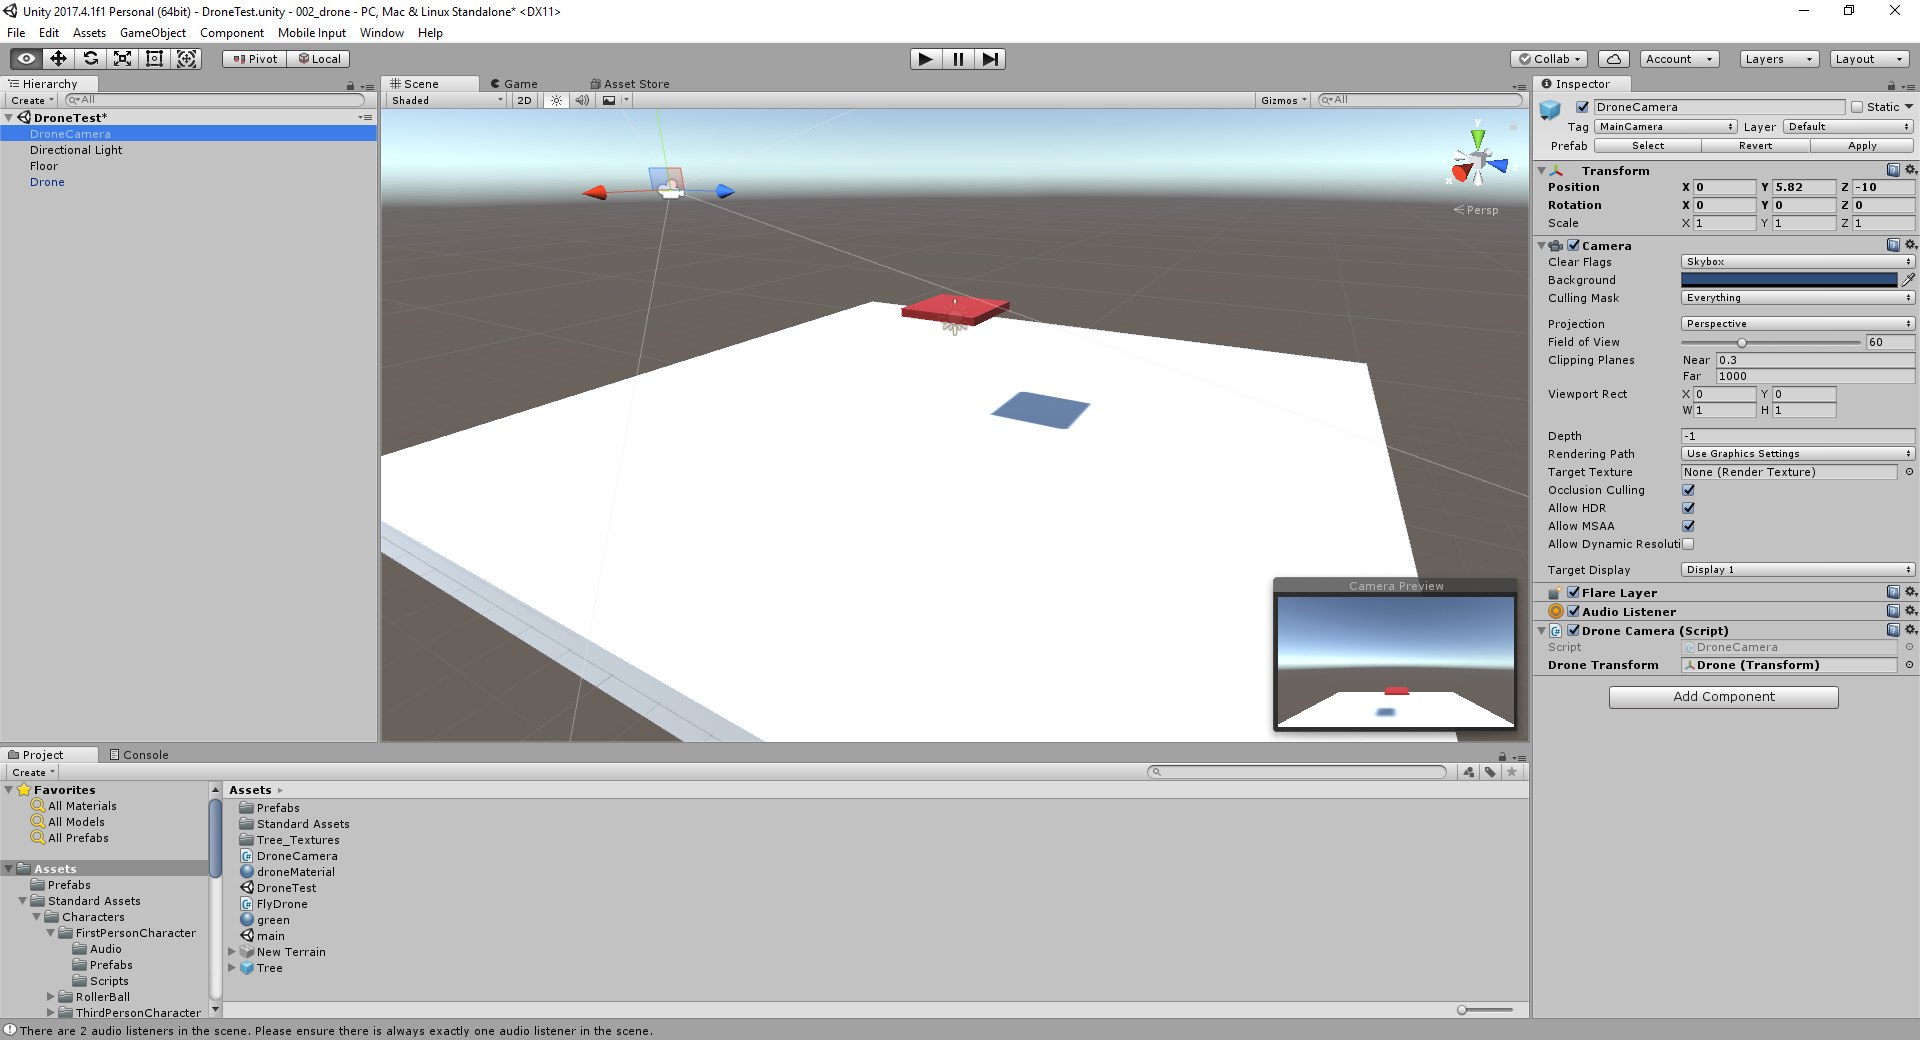
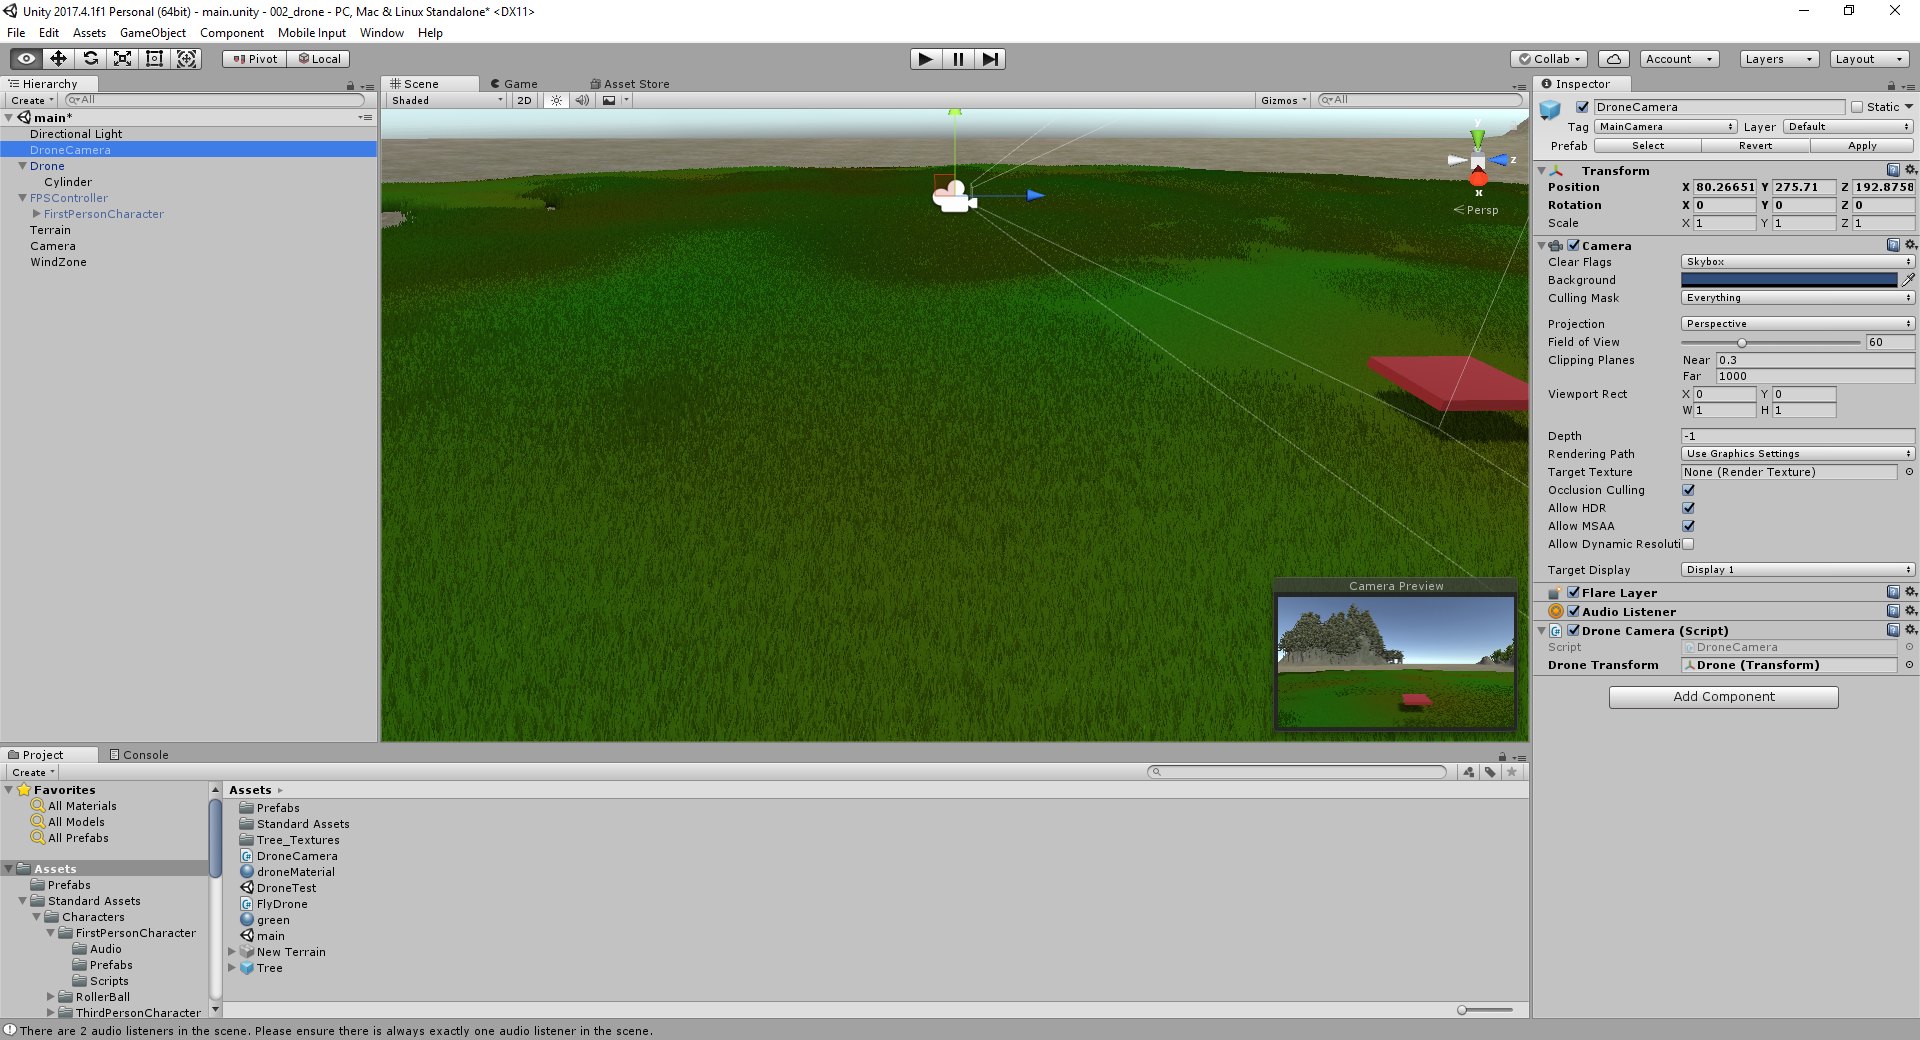
DroneCamera.cs
using System.Collections;
using System.Collections.Generic;
using UnityEngine;

public class DroneCamera : MonoBehaviour {

	public Transform droneTransform;

	// Use this for initialization
	void Start () {

	}

	// Update is called once per frame
	void FixedUpdate () {
		gameObject.transform.LookAt (droneTransform);
		gameObject.transform.position = droneTransform.transform.position + new Vector3(0, 10, -10);
	}
}